Looking for an easy homemade treat to satisfy your sweet cravings? This Bliss Bites recipe combines everyday ingredients to create chocolate-flavored bites without baking. The simple preparation makes it a convenient option for beginners and anyone who enjoys making sweet snacks at home.
Made with oats, peanut butter, cocoa powder, and a few pantry staples, these bite-sized treats are easy to customize. Follow the seven steps below to prepare a batch for an afternoon snack, a lunchbox addition, or a sweet treat to share with family.
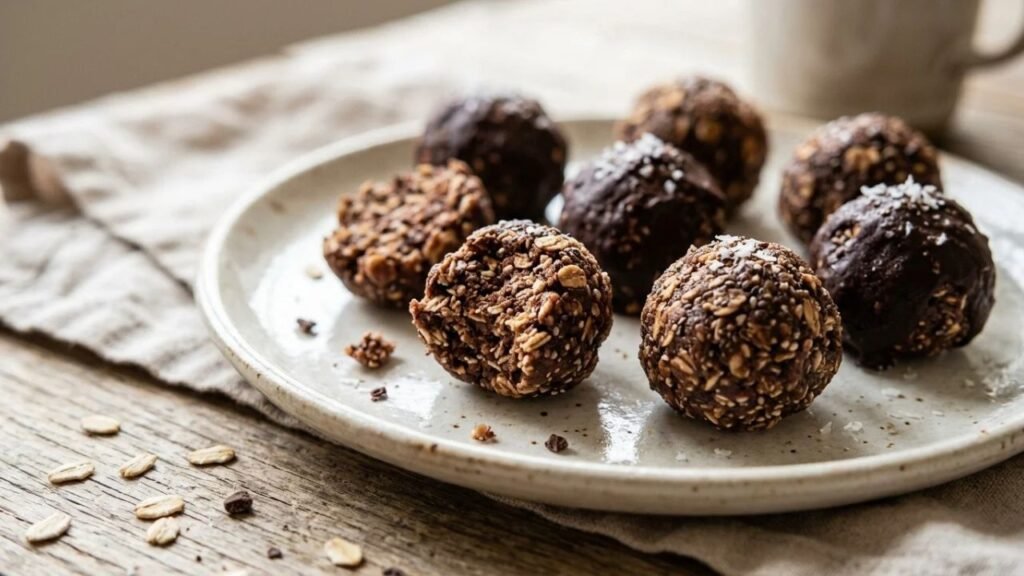
What Are Bliss Bites?
Bliss Bites are small, sweet treats that can be prepared with different ingredients and flavors. This no-bake version uses oats for texture, peanut butter to bind the mixture, and cocoa powder for a rich chocolate taste.
Instead of baking, you combine the ingredients, shape the mixture into small portions, and refrigerate until firm. The result is a convenient homemade snack that requires minimal equipment.
Recipe at a Glance
- Prep Time: 15 minutes
- Chilling Time: 30–60 minutes
- Total Time: 45–75 minutes
- Servings: About 12–14 bites
- Course: Snack or Dessert
- Method: No-Bake
- Difficulty: Easy
Preparation time and yield are estimates and may vary depending on portion size and preparation speed.
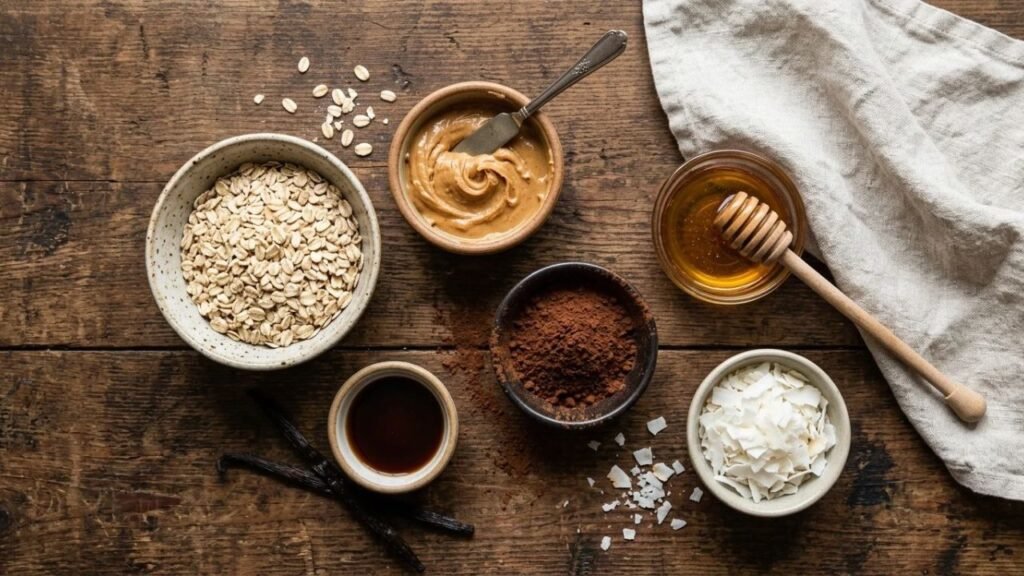
Ingredients You Will Need
Gather these ingredients before you begin:
- 1 cup rolled oats
- ½ cup creamy peanut butter
- ¼ cup honey or maple syrup
- 2 tablespoons unsweetened cocoa powder
- 1 teaspoon vanilla extract
- 2 tablespoons shredded coconut (optional)
- A small pinch of salt
Creamy peanut butter helps hold the mixture together, while oats provide texture and cocoa adds chocolate flavor. Honey or maple syrup contributes sweetness and helps bind the ingredients.
Easy Ingredient Substitutions
You can adapt the recipe to suit your preferences or use ingredients already available in your kitchen.
| Original Ingredient | Alternative | Expected Result |
| Rolled oats | Quick oats | Softer texture |
| Peanut butter | Almond butter or sunflower seed butter | Similar binding with a slightly different flavor |
| Honey | Maple syrup | Plant-based sweetener option |
| Cocoa powder | Unsweetened carob powder | Milder, different flavor |
| Shredded coconut | Finely chopped nuts or extra oats | Different texture |
| Vanilla extract | A pinch of cinnamon | Warm, spiced flavor |
Helpful tip: Substitutions can change the consistency. If the mixture feels too sticky, add a little extra oats. If it crumbles easily, mix in a small amount of thick nut or seed butter.
For a nut-free alternative, sunflower seed butter may be suitable, depending on your dietary needs. Always check product labels for allergens and cross-contact warnings. The official website of the United States government redirects to the blog FDA’s Have Food Allergies? Read the Label provides additional guidance for people managing food allergies.
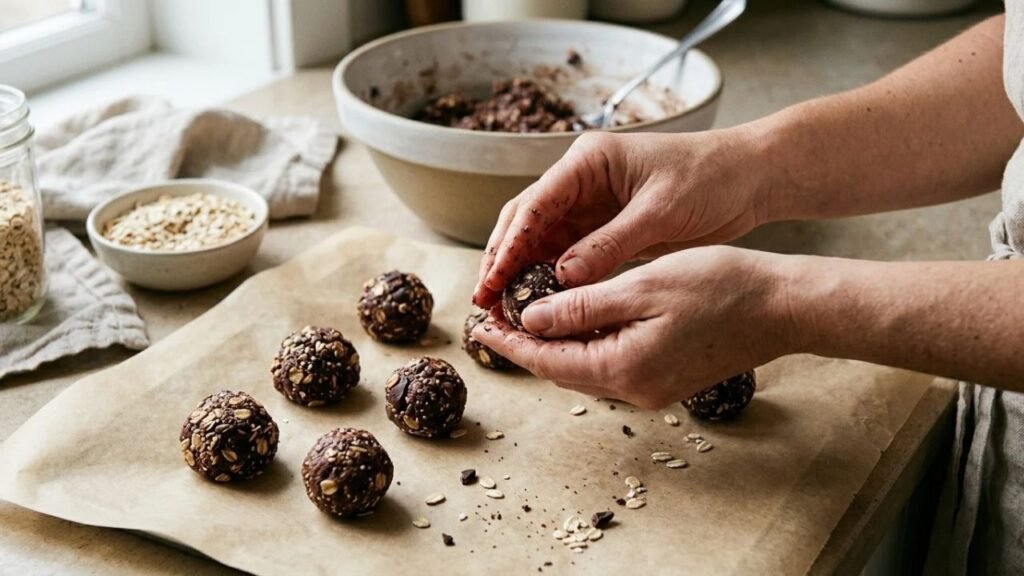
Bliss Bites Recipe in 7 Easy Steps
1. Get Everything Ready
Gather your ingredients, a mixing bowl, a spoon, and a tray lined with parchment paper. Measure the ingredients before mixing so you can prepare the bites without interruptions.
2. Build the Chocolate Base
Add the rolled oats, cocoa powder, shredded coconut, and salt to your bowl. Mix until the cocoa coats the oats evenly. This helps distribute the chocolate flavor throughout the mixture.
3. Bring the Mixture Together
Stir in the peanut butter, honey, and vanilla extract. Keep mixing until the ingredients form a thick, slightly sticky mixture. Scrape the bottom and sides of the bowl to incorporate any remaining dry ingredients.
4. Test and Adjust the Texture
Take a small portion and press it between your fingers. It should hold together without falling apart or sticking excessively to your hands.
If the mixture feels dry, add peanut butter a teaspoon at a time. If it is too sticky, add a little more oats and mix thoroughly before checking again.
5. Roll into Bite-Sized Portions
Scoop out a small amount of mixture and roll it gently between your palms. Continue until you have used all the mixture, keeping the portions similar in size so they chill evenly.
If shaping becomes difficult, refrigerate the mixture for about 10 minutes before continuing.
6. Let the Bites Set
Place the shaped portions on your prepared tray, leaving a little space between them. Refrigerate for 30–60 minutes, checking that they feel firm before serving.
Avoid stacking the bites while they are still soft, as this can flatten their shape.
7. Add the Finishing Touch
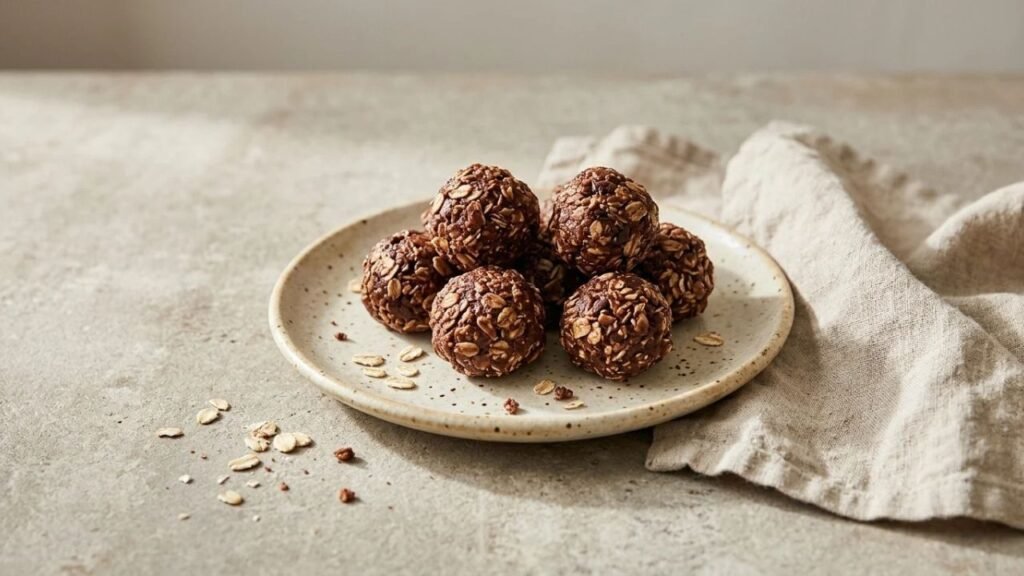
Once the bites are firm, transfer them to a serving plate. Leave them plain for a simple chocolate flavor, coat them lightly with shredded coconut, or add a thin drizzle of melted chocolate.
Serve chilled for a firmer texture or allow them to soften slightly at room temperature before enjoying.
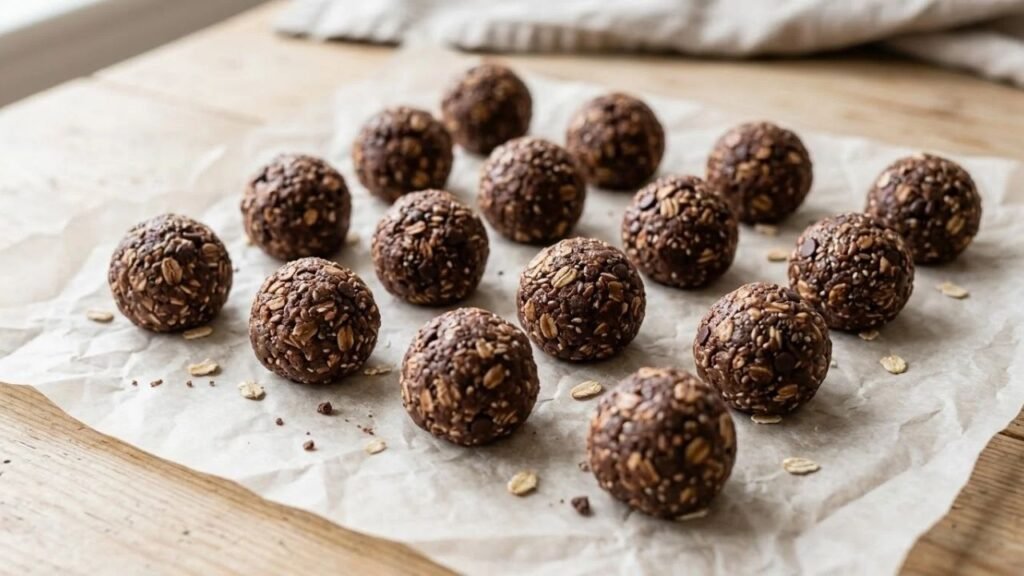
Tips for the Best Results
- Choose creamy peanut butter: It helps bind the ingredients and makes mixing easier.
- Adjust gradually: Add oats or peanut butter in small amounts to maintain the right consistency.
- Keep portions similar: Evenly sized bites are easier to serve and store.
- Allow enough chilling time: Make sure the treats are firm before transferring them to a container.
- Check the flavor before shaping: Adjust the cocoa or sweetness while the mixture is still easy to mix.
Easy Ways to Customize Your Bliss Bites
The basic mixture can be adapted with a few simple additions.
Coconut Bliss Bites
Add extra shredded coconut for a chewier texture and a more noticeable coconut flavor.
Chocolate Chip Bites
Stir a small handful of mini chocolate chips into the mixture before shaping. They add extra chocolate flavor and texture.
Fruit and Nut Bites
Mix in finely chopped dried cranberries, raisins, or nuts. Keep the additions small so the mixture can still hold together.
Cinnamon Chocolate Bites
Add a small pinch of ground cinnamon to complement the cocoa. Start with a little and adjust to your preference.
If you add several dry ingredients, check the consistency before rolling. Too many additions can make the mixture crumbly.
How to Store Homemade Bliss Bites
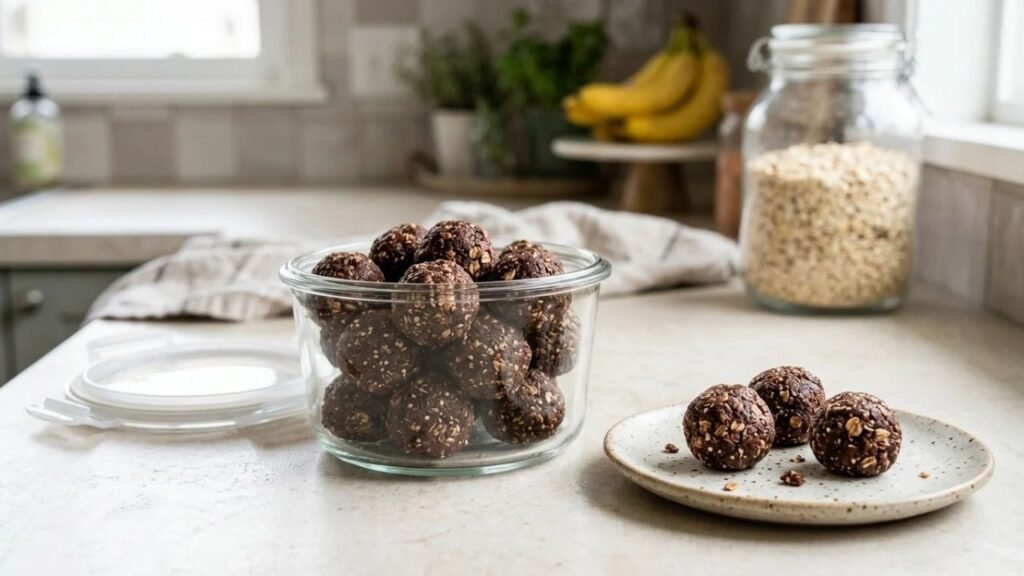
Place the finished treats in an airtight container and refrigerate them. For this homemade version, aim to enjoy them within about one week, provided they have been handled and stored properly. Place the finished treats in an airtight container and refrigerate them. For general guidance on safe refrigeration and food handling, consult the official website of the United States government redirect on the blog USDA’s Leftovers and Food Safety.
You can also freeze the bites in a freezer-safe container, separating the layers with parchment paper to prevent sticking. Thaw them in the refrigerator before serving.
Storage time can vary depending on the ingredients and preparation conditions. Discard any treats that develop an unusual smell, appearance, or texture.
Frequently Asked Questions
Can I make Bliss Bites without baking?
Yes. This version is a no-bake recipe. Mix the ingredients, shape the portions, and refrigerate until firm. No oven is required.
Why is my mixture too crumbly?
The mixture may need more binding ingredients. Add a small amount of peanut butter, mix thoroughly, and check whether it holds together when pressed.
Can I make these treats without peanut butter?
Yes. Almond butter or sunflower seed butter may work as alternatives. The final flavor and texture can vary, so adjust the oats as needed.
How long does this recipe take?
Allow about 15 minutes for preparation and another 30–60 minutes for chilling. The estimated total time is 45–75 minutes.
Can I prepare them ahead of time?
Yes. You can make a batch in advance and refrigerate it in an airtight container until you are ready to serve.
Can I make these bites less sweet?
You can slightly reduce the honey or maple syrup, but the sweetener also helps bind the ingredients. Make small adjustments and add a little extra peanut butter or oats if needed to maintain the texture.
Final Thoughts
This Bliss Bites recipe offers a simple way to prepare chocolate-flavored homemade treats with everyday ingredients. The no-bake method keeps preparation manageable, while the suggested substitutions and variations make it easy to experiment with different flavors.
Follow the seven steps, adjust the mixture to achieve the right consistency, and refrigerate the bites before serving. Once you find your preferred combination, these homemade treats can become a convenient addition to your snack collection.